Getting Your First Domain Name for Your Blog
In our previous article “Things That You Need To Know Before Starting a Blog” We’ve already discussed about some important stuff. We would like to remind you that you carefully plan and choose a good blog name. If you have come to land here on this article directly, We suggest that you read our previous article mentioned above.
What we do now is we wanted to guide you in buying your domain name and set up these things together with our recommended web hosting provider. Find your domain name today!.
Getting Your Domain Name
You may want to register your domain from a different domain registrar but we highly recommend that you register it with namecheap for ease of accessibility so that you do not need to login separately on your domain registrar and in your hosting provider. This comes in handy when maintaining your blog in the future.
Don’t worry, almost all other domain registrar has the same pricing not unless you go for a premium domain names which is much expensive. Yet, we do not suggest to pick a premium domain name for your blog.
1. Go to namecheap.com

2. Enter your desired domain name ( In this example we entered blogheroes.com ) and hit the search button.
3. Notice from the search result it says “This premium domain is available”. We don’t want to grab that domain name as it is way too expensive. You may want to use the search box again to search for your domain name availability. But for demonstration purposes only we may want to grab blogheroes.me


6. As shown in Figure 5. We may want to customise some of the settings. But we suggest to leave the default settings as is Like the WhoisGuard and the Domain Registration. You may add years to your domain registration up to 10 yrs or set enable the auto-renew just if in case you’ll forget its renewal date to avoid further problems in the future.Enabling auto renew in your domain name requires you to add funds in your namecheap account. You’ll figure it out as soon as you’ll be able to navigate for yourself into your namecheap dashboard.Promo Code
Of course we wanted to save money as much as we could. So we wanted to fill this promo code section
You may want to visit these pages.

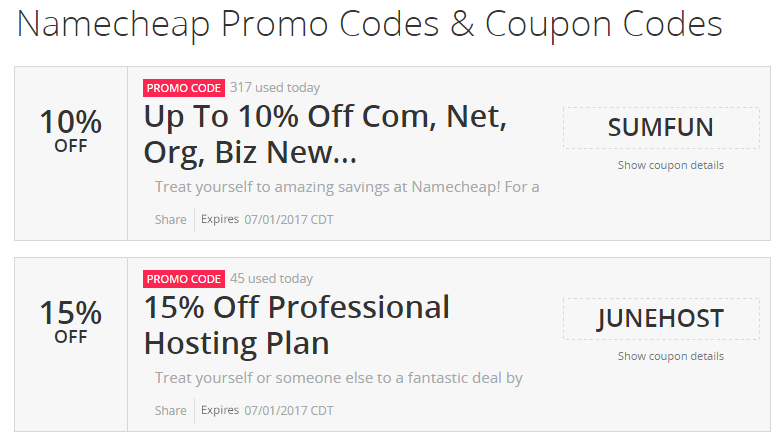
Or you may want to search it on Google using the example search term

For the sake of this example we wanted to use the promo code WARMUP from the namecheap website.
7. Click on the Apply button in the promo code box

8. Now we have successfully added our promo code. We may want to click on the confirm order.

9. Fill in all the required information needed.

10. You do not have to modify anything on this part as long as you have filled the correct information in the account Contact information section. Click Continue button.
11. In the payment method section. We suggest that you select paypal other than the default secure card payment (Credit Card)

12. We’re almost there to grab your desired domain. Don’t get too excited review first your order. Check your domain name if you have correctly spelled it. And click on the Checkout with Paypal if you don’t find any discrepancies.
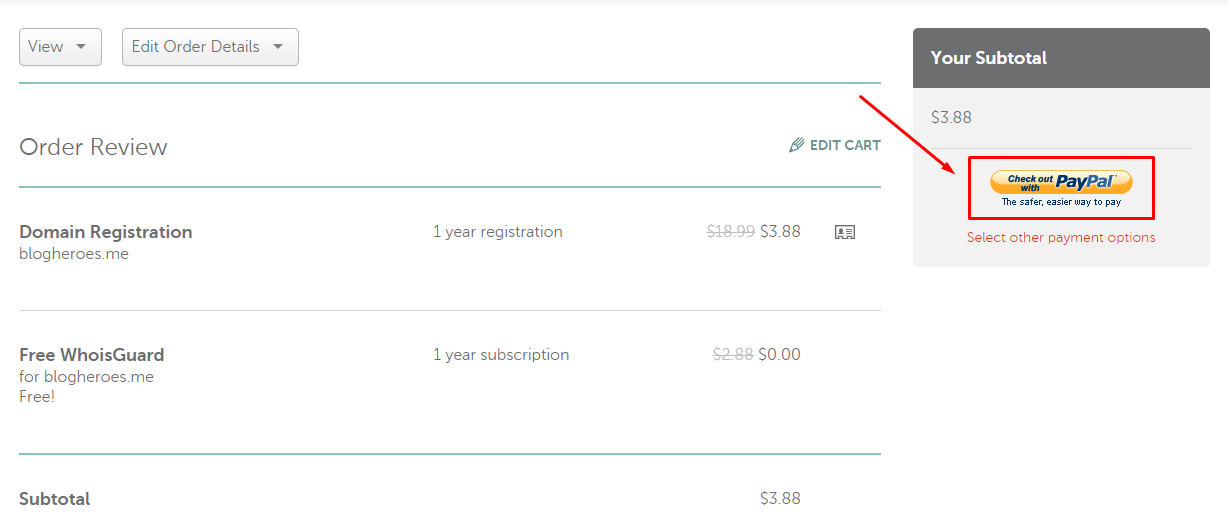
Hence, that after clicking Checkout with Paypal button you will be redirected to the paypal login page and there you may pay your order.
So, this could be the final step just make sure that your payment pushed through or successful. You may also want to verify your order by signing in to your email address associated to your namecheap account. You should get an email receipt for your purchase.